Site Survey Essentials
One of the first things to do when you get a new client or project request is to understand the space you are being asked to design. It is not enough to ask questions over the phone or see the space on a Zoom call. You need to get into the space and do a site survey.
A site survey is an essential initial stage of a project and helps you to understand how the space could be used to its best potential. It is your chance to take accurate measurements, photograph the entire area and understand how elements like natural light and access will impact the final design.
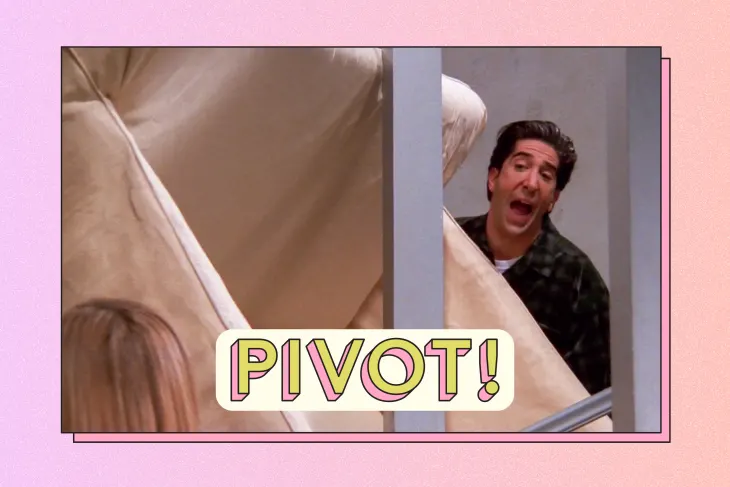
This advice also goes for when designing a space in your own home. It is essential to get the measurements right before buying anything – how many times have you heard of someone buying a sofa that was too big for the space, or even worse, did not fit in through the front door? Now I am just thinking of that Friends episode – PIVOT!
What is a site survey?
A site survey is an information-gathering exercise. You need to get into the space and examine every little detail.
Typically there are two parts:
- Dimensional survey – freehand sketches with every measurement
- Photographic survey – visual images of the overall space and smaller details
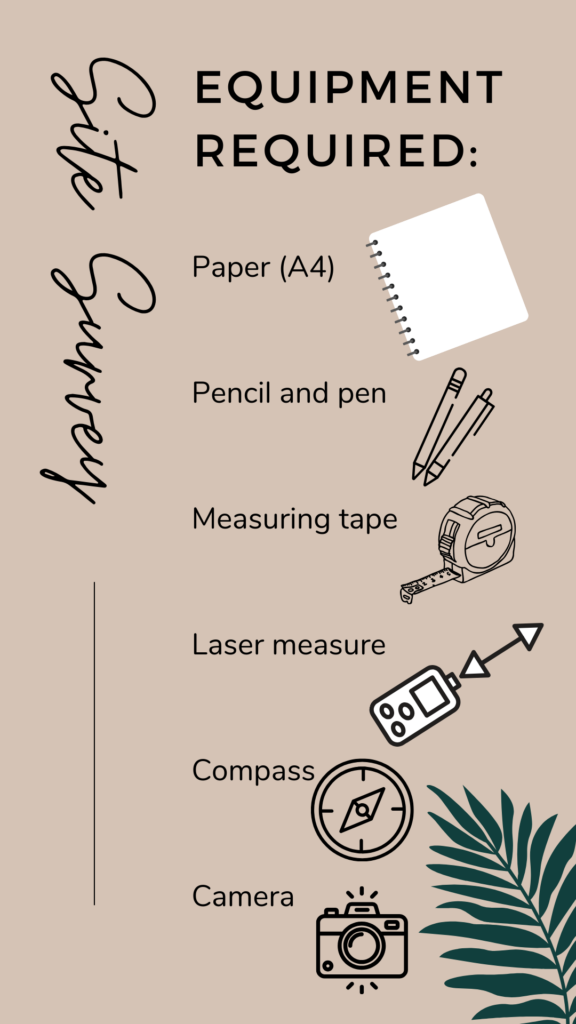
What to bring to a site survey?
What do you do at a site survey?
Surrounding Area
Consider the area that the building is in.
- Is it a city apartment or a country home?
- When was it built?
- What is special about the area? (you may want to build this into the design, e.g. is it a converted Victorian warehouse?)
- What is in the surrounding area (e.g. near a canal or railway?)
Building access
- How does the client access the building?
- How will deliveries etc. access the building?
- Measure every door, stairway and lift that you need to go through to get to the design space
- Is there parking at the building?
- Any restrictions on access (e.g. is the building near a school so it will be busy at pick up and drop off times)
What photographs to take?
- All angles of the outside of the building
- Route from approach to the building to reaching the design space (all ramps, stairs, doorways, corridors and lifts)
Inside the property
- What space are you being asked to design – is it a single room, part of an open plan space, or a full property?
- How to access the room once entering the property
- How many entrances to the space?
- Where is the design space in relation to the rest of the property?
- How big is the design space in relation to the rest of the property?
First impressions
- Is the room light or dark?
- Is the space warm or cold?
- What is the space currently used for?
- What furniture is in the space already?
- Are there any architectural features? (e.g. fireplace)
- Any noticeable issues? (e.g. lack of storage)
- What are the main focal points? (e.g. large picture windows)
Site Survey Drawings
After noting down your journey from the exterior to the interior of the space and your first impressions of the space, it is time to start measuring!
I find that using a standard measuring tape is best, especially if there are lots of features, doorways or windows. However, it is also great to have a laser measure on hand to take the overall measurements.
I like to use both, so I can double-check my measuring and ensure there are no mistakes. A client will not be happy if you need to go back to confirm a measurement or worse, get a design wrong due to a measuring mistake.
Site Visit Floor Plan
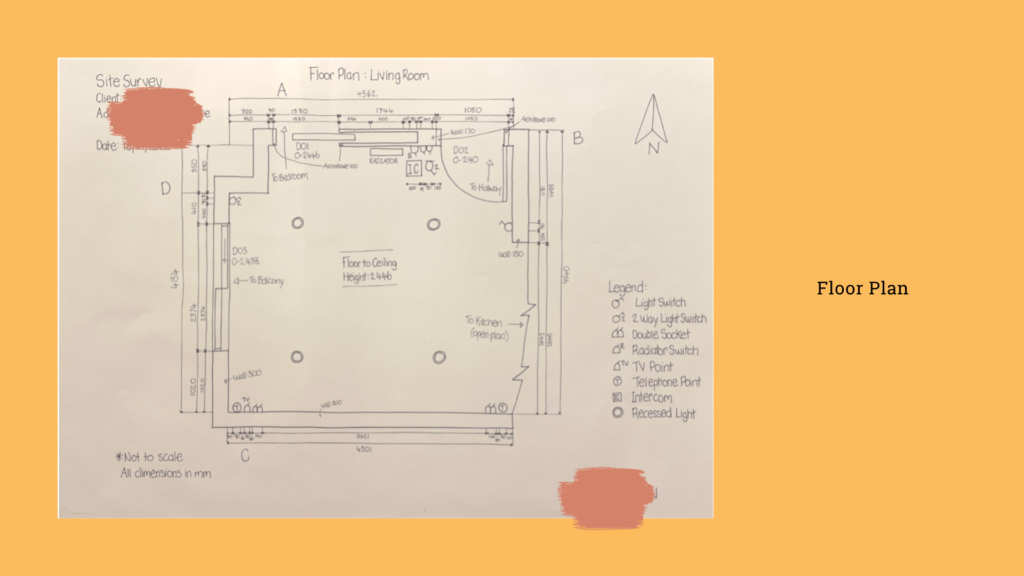
First up is to measure and sketch the floor plan.
You can use a pencil or pen for this. I usually use a pencil when I am at the site, so I can easily rub out lines and fix them. I will then go over this with a pen afterwards, to avoid any smudges.
This floor plan has been drawn by hand and is not to scale. It includes measurements for:
- Interior walls
- Exterior walls
- Doors
- Windows
- Electrical sockets and points
- Light switches
- Ceiling lights
- Radiators
- Ceiling height
Important information to note:
- Where each door leads to
- How doors open
- How windows open
- All electrical features (noted on legend)
- All lighting features (noted on legend)
- North arrow
- All measurements are in mm
- Date of site survey
- Client details and address
Site Visit Elevations
As you can see, the floor plan site survey can get very crowded and detailed, especially if there are a lot of electrical points.
That is why it is also good to draw elevations of each wall. This will allow you to record all the features in more detail and also include the vertical dimensions. Again, these drawings are rough and are not to scale.
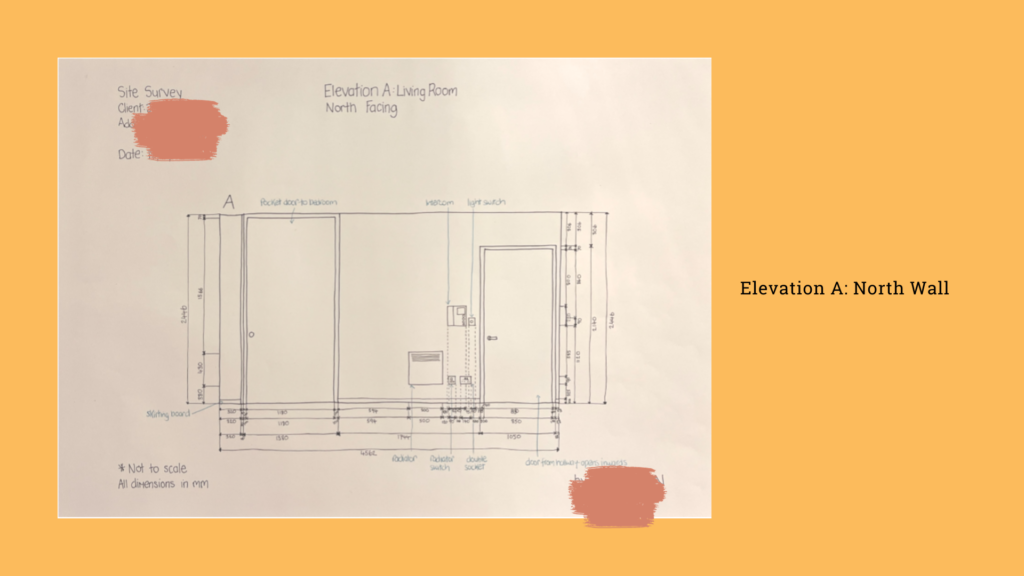
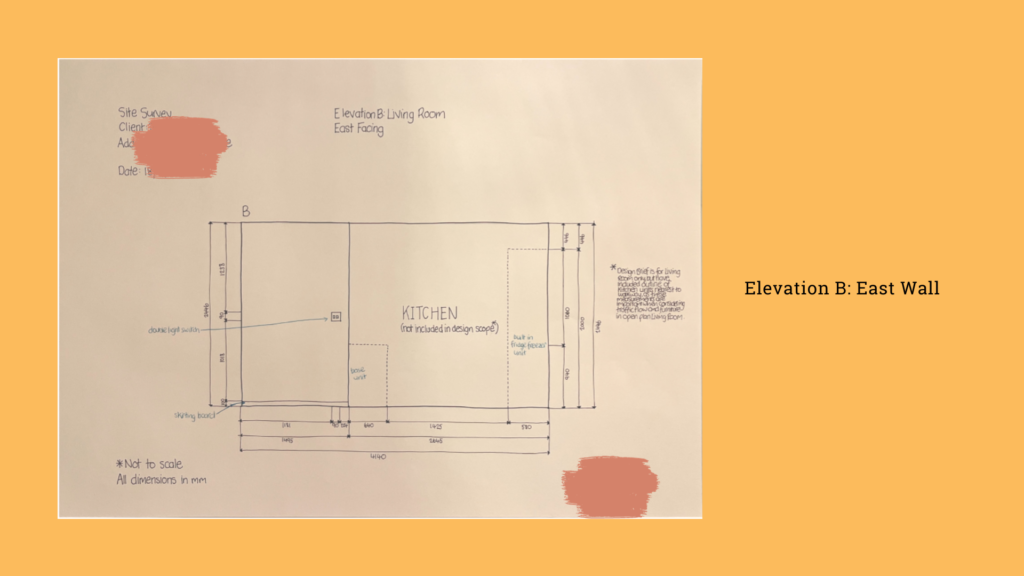
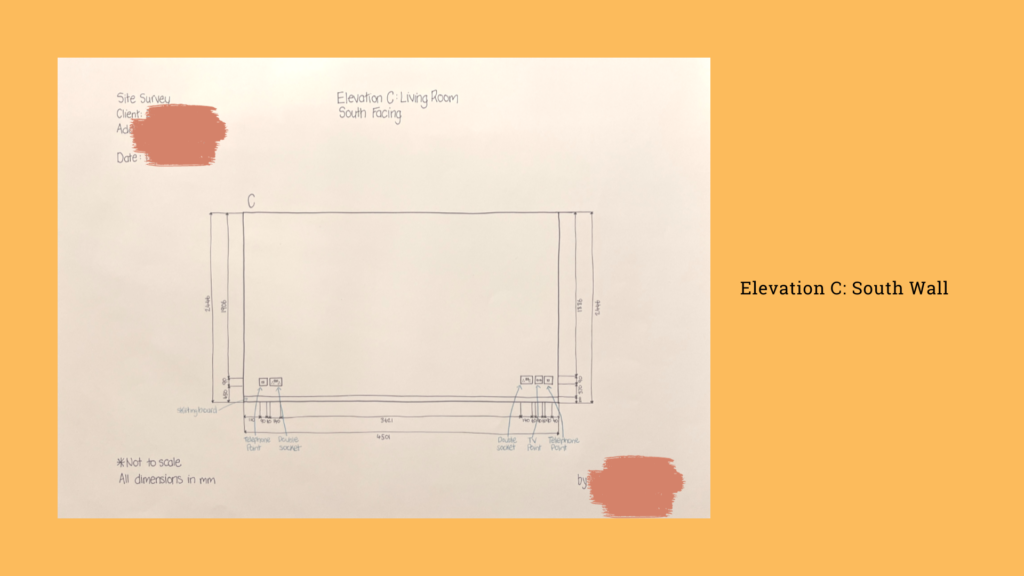
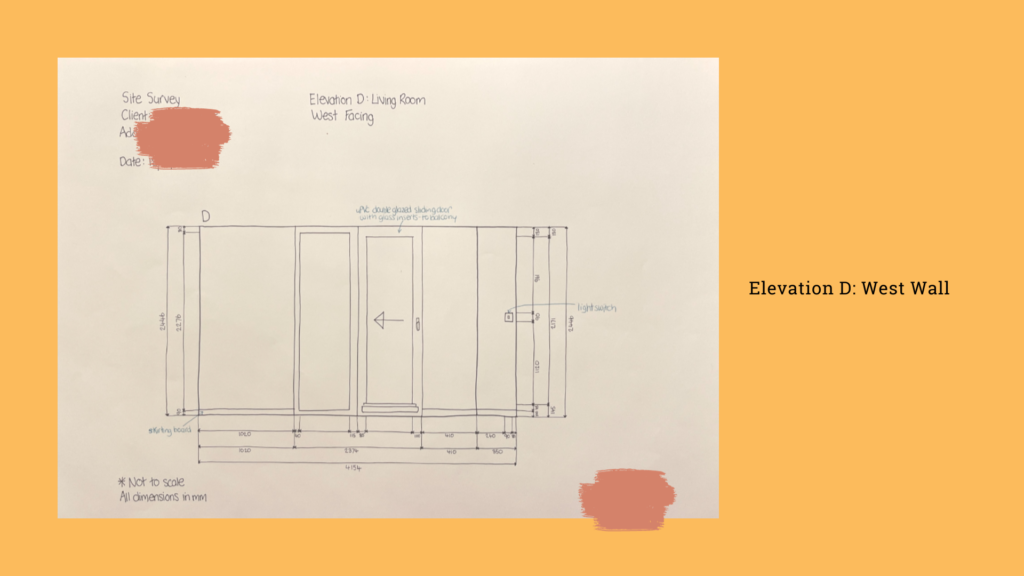
In these elevation sketches, I have included measurements for:
- Interior walls
- Doors
- Windows
- Electrical sockets and points
- Light switches
- Radiators
Site survey photographs
After taking the measurements and drawing up the rough floor plan and elevation sketches, make sure to take lots of photographs. These will be invaluable when moving on to the next stage of the design process. I find the photographs especially helpful when trying to visualise all the electrical points.
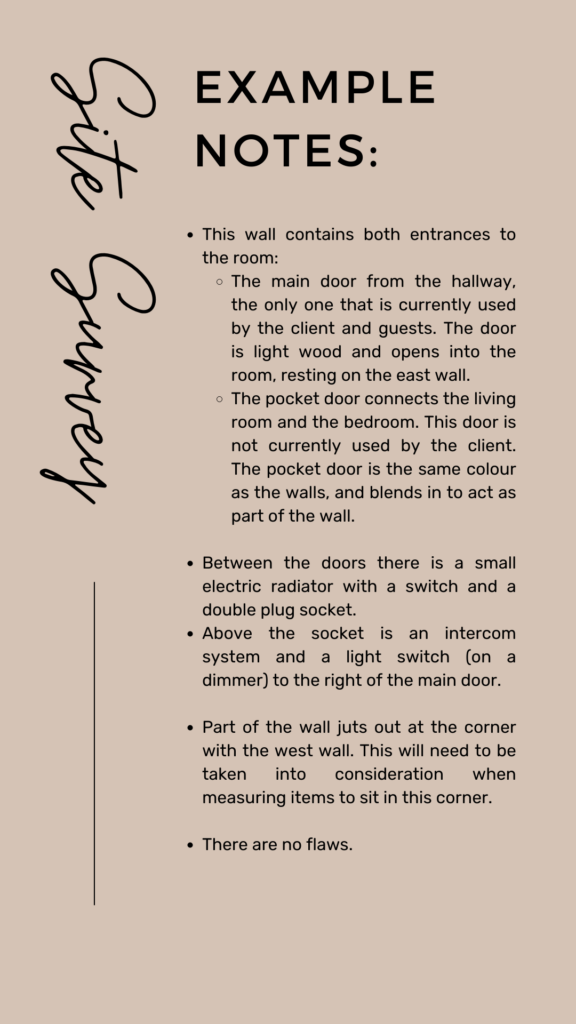
Site survey notes
For each drawing and photograph, I will take the following notes:
- Any doors – where do they lead? Are they used much? What is the traffic flow?
- Any windows – how do they open? What direction do they face? What is the view like?
- Ay electrical sockets or points
- Any other electrical equipment, e.g. intercom
- Light switches
- Light fittings
- Any imperfections on the wall
- Any alcoves, pillars or parts that jut out
- Any adjoining areas – is it part of an open plan space
- Focal points
- Features
- What is in the space already
- What the client would like to keep (e.g. artwork, furniture, antiques)
- The existing flooring
- The existing wall covering
- The existing window treatments
Final step of the site survey
And a very important one!
Make sure you have all the measurements you need. If you make a list before you attend the site, then there is less chance of forgetting anything.
Measure twice – you can use a measuring tape and laser measure for this
Use your common sense – do the measurements add up and make sense?
To read more about me and my interior design journey so far please have a read of my About Me page


